How to publish a tour to Google Street View?
Select Render Walk → Tour, from the side menu.
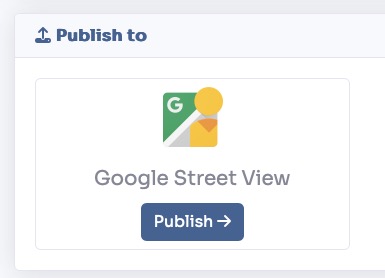
Click on the button Publish with the Google Street View logo.
Login with your Google account by pressing the Login with Google button.

Flag the "Publish and manage 360 photos on Google Street View".
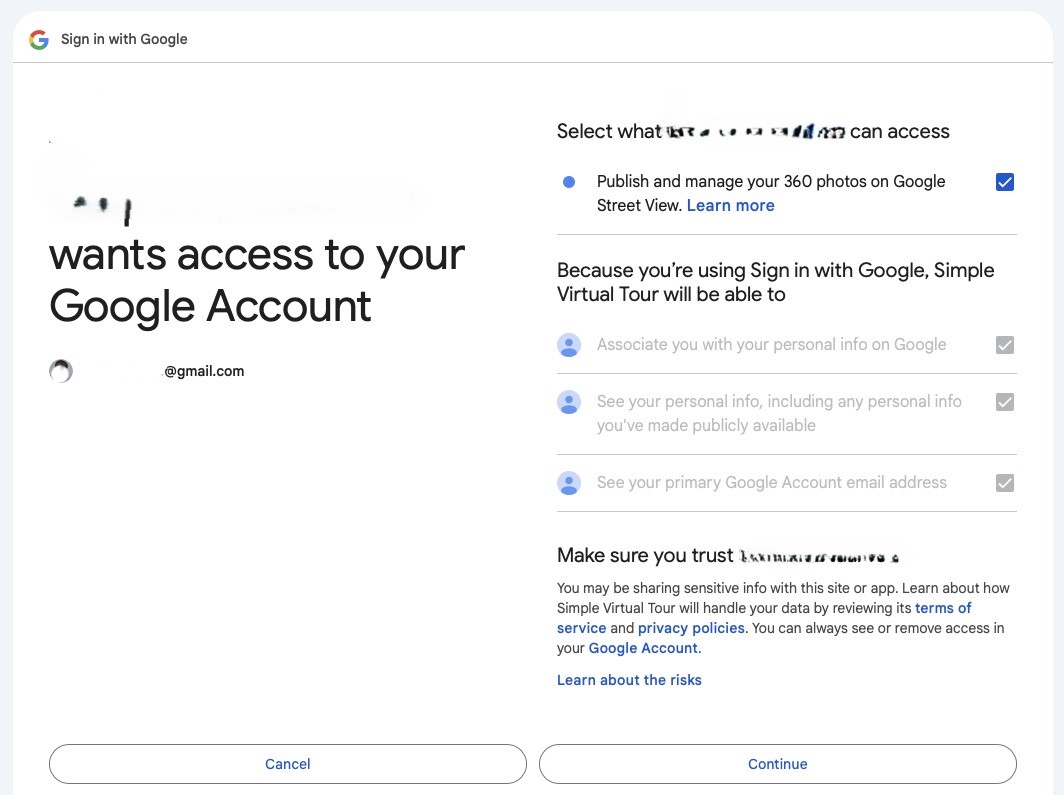
Click on Next step button.

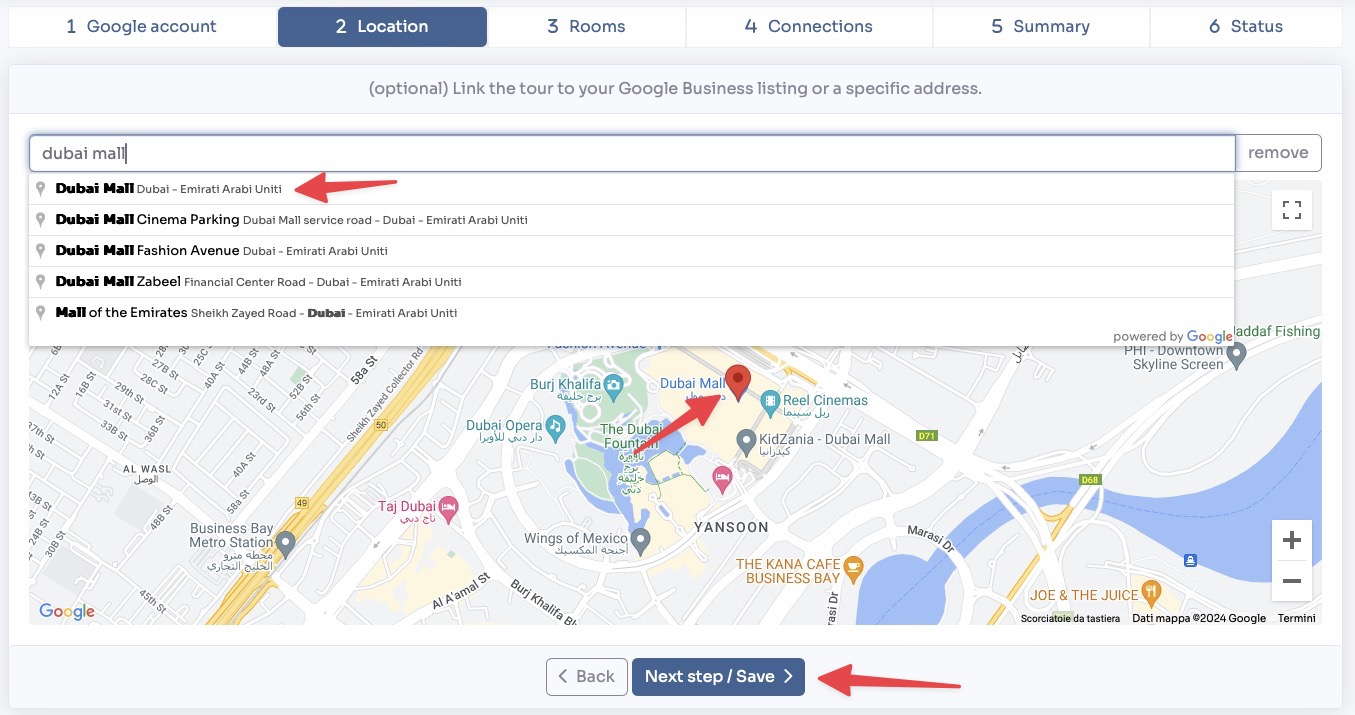
(optional) Assign a location to your tour by starting typing in the search field and clicking on the desired item.
Click on Next step / Save button.
Toggle the rooms you want to publish by clicking on the corresponding room.

(optional) If your rooms are in different levels click on + button to add the levels. Then assign to each room the correct level.

Click on Next step / Save button.
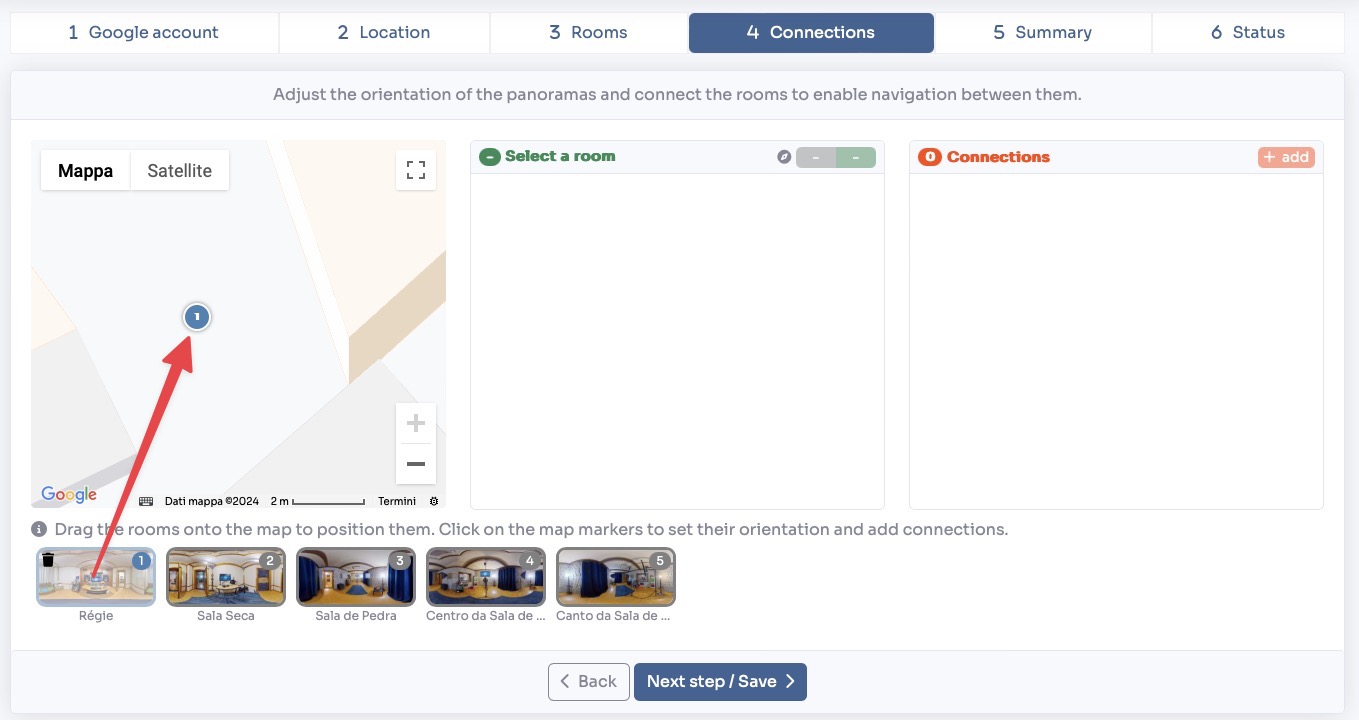
Now you can position each room on the map by simply drag them.
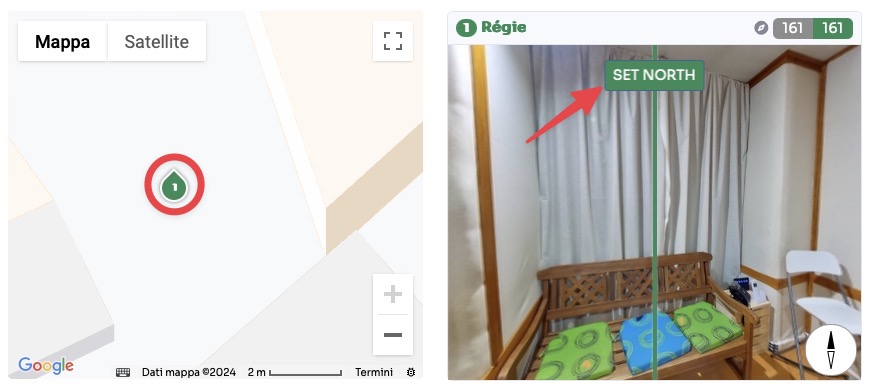
Click on each room on the map and assign the correct direction by setting the north, dragging the 360° view to the right and pressing the set north button when the green line matches with the north.
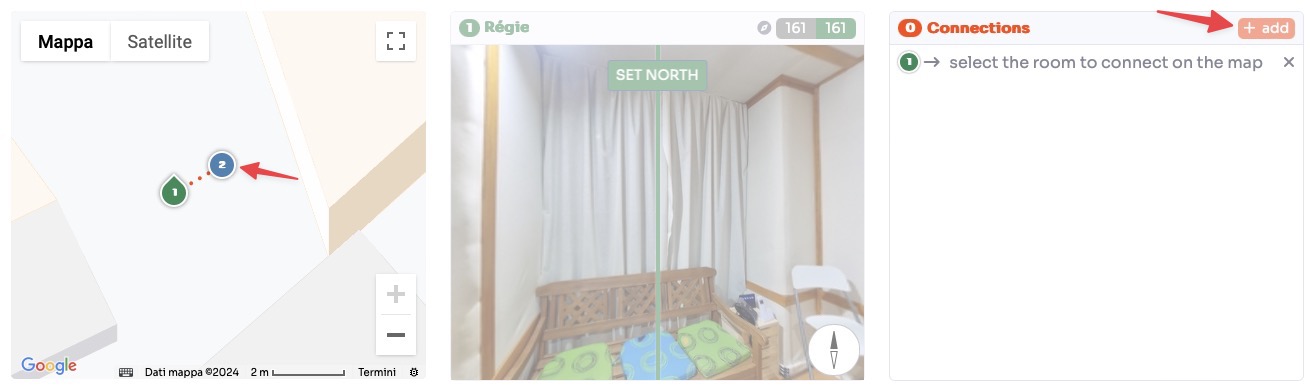
To add connections between rooms just click on the + add button in the Connection section, and click on the room to connect directly on the map.
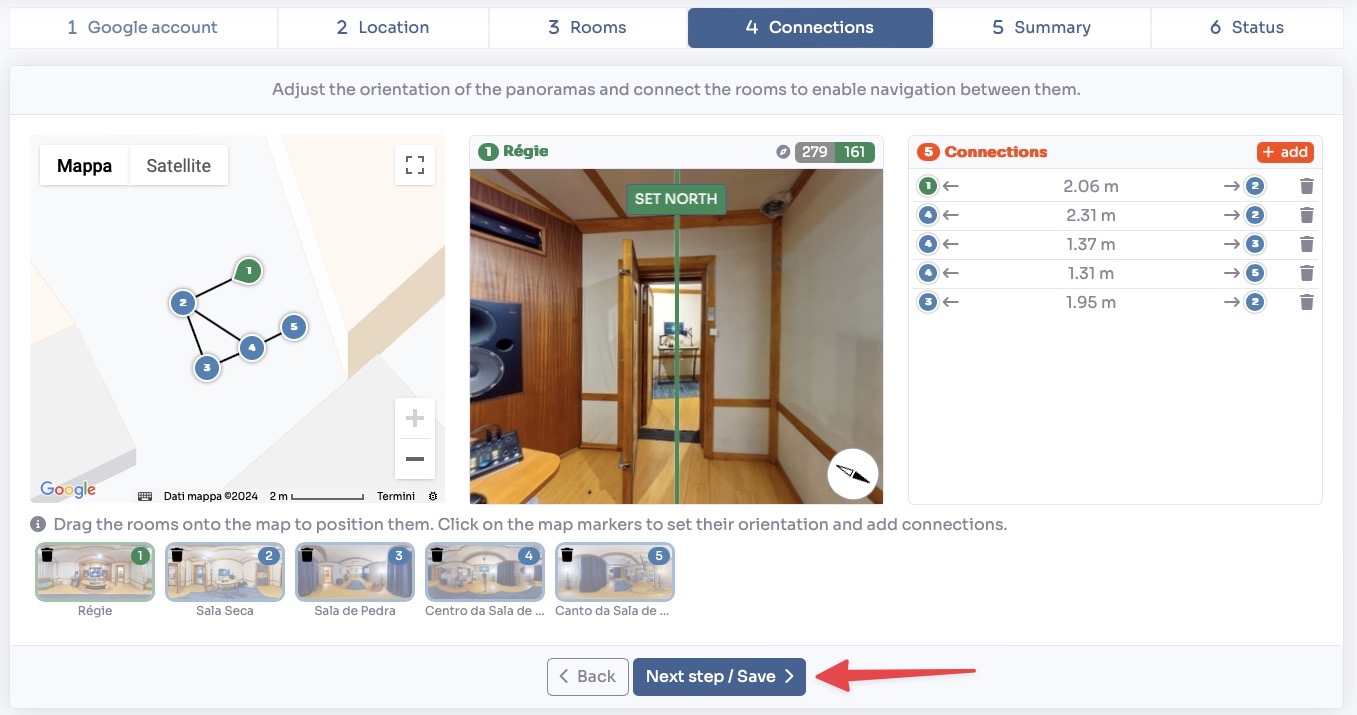
After you have added all the rooms and connections, click on Next step / Save button.
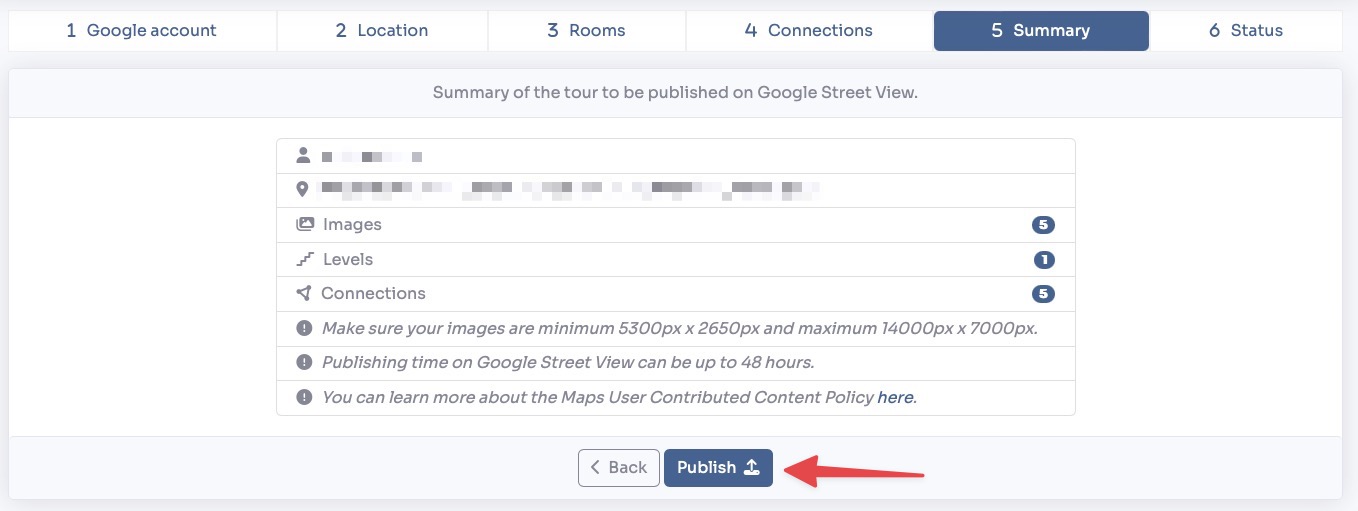
In the next section you have a summary of the tour to be published. Press the Publish button.
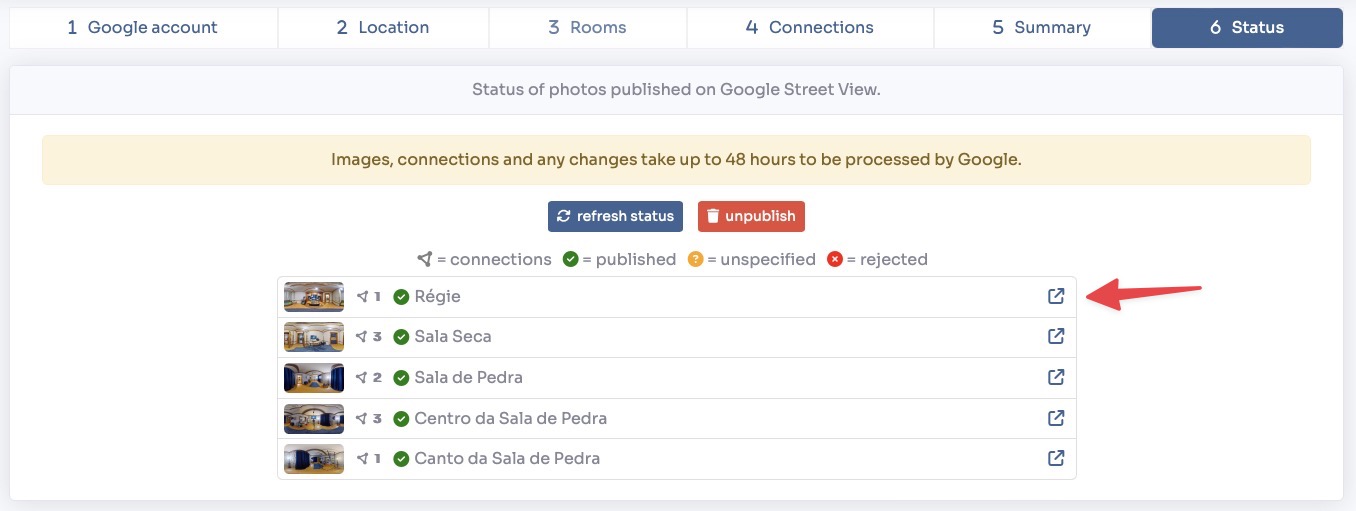
Once the publish process is terminated you can review the status in the final section. Here you can view the status for each room published and you can click on the link button to view the image directly on Google Street View.